I wanted to share my favorite concealers with you.
I have found my tops. Now, I'm sure there are tons more out there that are fabulous.
But the ones I'm mentioning are tried and true for me & will always be staples in my collection.
They vary in strength and ability, as well as price.
There's something for everyone.
Here they are, in no particular order:
(please excuse their messiness - they are frequently used!)
Maybelline Instant Age Rewind Dark Circle Concealer/Treatment
This is a phenomenal concealer. When I first purchased it, I used it (and only it) everyday. I love trying new things but I always come back to this one. It's so lightweight, but has exceptionally great coverage. I have TERRIBLY dark, purplish circles (allergy related) and this concealer tackles them amazingly. I purchase the color "fair." It's the perfect color (slightly pink) to counteract the darkness. I recently purchased the concealer treatment in the "brightening" shade, which is a salmon color. It also works great layered underneath this one. This concealer is build-able and does not appear cake-y or dry on the delicate undereye area. You can even reapply throughout the day for a pick-me-up. The ONLY complaint I have, and it's pretty major, is the packaging. While I feel that the "twist up" design is genius, this is my second one that has broken!!! And with more than half the product still in the container. Once it breaks, there is no easy way to continue using it. I have seen YouTubers go through so many of these and I never hear of anyone's breaking, so maybe I'm just twisting too hard! :)
Revlon PhotoReady Concealer
This is a heavier concealer, but not too heavy for the undereye area. It does work pretty well on blemishes, also. If I need EXTRA coverage one day, I'll grab this one. I just have to be careful not to let it creep into the lines near my lashline. Use a cottonswab, or your finger, to gently blend that in very well. And I have to set this concealer with powder (one designed for that area) to make it last all day without getting a little "creepy." But overall, it's a great one to have in your collection.
Merle Norman Cover Up
This has been one of my stand outs for years. I discovered this concealer (in the tube) while working at Merle Norman YEARS ago. I always have it on hand. While I don't use it everyday, it comes in handy very often. It is a thicker concealer with full coverage. The main difference: it dries to a powder finish. It works phenomenal on blemishes. And a little goes a LONG WAY. I usually use a small concealer brush to apply it right on the blemish and just tap it into the skin with my finger. I don't usually use this one under my eyes (though I used to years ago), because I have found that it makes my fine lines more visible. But for photographs (not up close) or special occasions (like pageants), you could totally get away with it. Another great use for this one: eyelid primer. It works great for that! It conceals darkness and discoloration and preps your eyelid for the perfect look. And it'll last ALL DAY.
Maybelline Fit Me
I have been in love with this concealer for months. I bought it after seeing Marlena from MakeupGeek rave about it. She claims it's the best concealer she's ever tried... even better than high-end alternatives. And since I LOVE the Maybelline Fit Me foundation so much, I decided to give it a try. And I love it just as much. It's lightweight, easy to blend, and gives great coverage. It doesn't have any magical powers, but I think it's just simply the formula that makes it so amazing. It's the perfect consistency to layer and hide those dark circles. It also works great on the face for redness and discoloration.
And it's CHEAP. I love it.
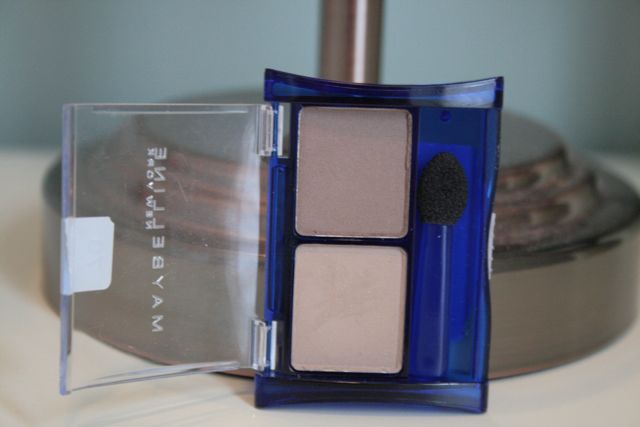
Merle Norman Dual Action Concealer
This concealer came out just a few years ago, after I worked at Merle Norman. I wasn't familiar with it but received it as a free sample and fell in love with it. I forgot about it for so long, but just the other day I found it in my drawer and pulled it out. I've been wearing it for the past week and have fallen in love all over again. The "dual action" part is because it contains age defying ingredients. Not only is it a concealer, but a skin care product, also! That's great. Killing 2 birds. It is on the thicker side, but still in the "lightweight" category. And it's build-able. It's very similar in consistency to the Maybelline Fit Me concealer, but has slightly more coverage. It also has a satin finish and stays put all day.
--------------------------------------
So there they are. These are products that I will continue to use and will keep in my collection at all times. I stand by them 100%.
A little tip when it comes to applying concealer:
If you are wearing liquid or cream foundation, apply your concealer AFTER your foundation. Then set it with your powder (unless you don't use any). So many people apply their concealer as their first step. And years ago, that's how the professionals taught us. But we've found out that it doesn't do the trick. When you apply your foundation, you are simply blending away the concealer.
So here are the important facts to remember:
~Make sure you have the RIGHT COLOR concealer (just a tad lighter than your foundation - unless you are using it for blemishes only, and then it can match exactly).
~Apply your foundation.
~Then apply your concealer on top.
For the undereye area, a slightly lighter color concealer will help to conceal darkness and brighten the area. For blemishes, use a concealer brush to apply a small amount of concealer to the area and blend in with your finger or brush.
This will help create that flawless finish that we all strive for!